
Recently, I encountered a challenge while working with a customer who had numerous images captured via PowerApps and stored them in a SharePoint Library. The customer’s latest requirement was to convert these images to PDF. To achieve this, we decided to use Power Automate to “Get the file” content, create an HTML, and then convert the HTML to PDF.
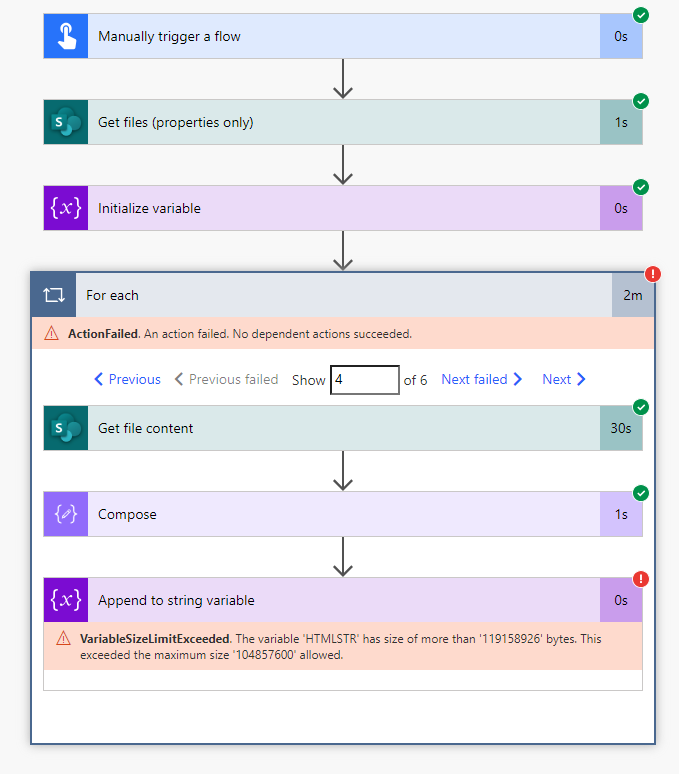
During this process, I faced a significant issue when using the “Append to string variable” action in Power Automate. To my surprise, I received the following error:
"The variable 'HTMLSTR' has size of more than '119158926' bytes. This exceeded the maximum size '104857600' allowed."
This error indicated that we had hit the file size limitation of 100 MB in Power Automate for which you can find details here.
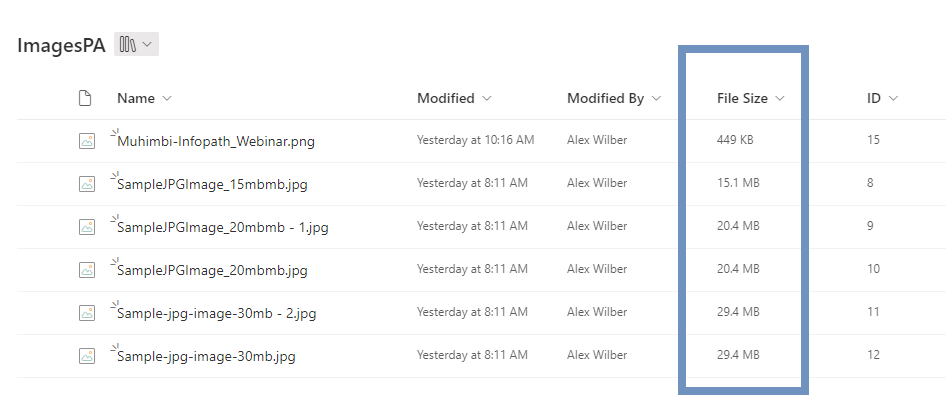
To confirm this, I checked the images in SharePoint, and they were indeed around 100MB each. While I could consider workarounds like compressing the files before adding them to the PDF, this solution was not ideal due to the uncertainty in the number of images.
In this blog, I will guide you through a more effective solution to this problem using the Graph API. This approach allows us to generate anonymous preview links for the images stored in SharePoint, making it easier to manage and convert them to PDF without hitting size limitations.
Note: An easier approach is to use thumbnails directly from the “Get file (Properties only)” action, which is documented here. However, if you’re interested in learning about Graph APIs and the interaction with SharePoint, please continue reading.
Before we begin, please make sure the following prerequisites are in place:
- Appropriate privileges to create Flows.
- Appropriate permissions to access Graph APIs.
- Working knowledge of Microsoft Power Automate and Graph API.
So, without further ado, let’s dive into building the solution step-by-step.
If you prefer not to read, here’s a step-by-step video tutorial.
Step 1: Understanding Graph API
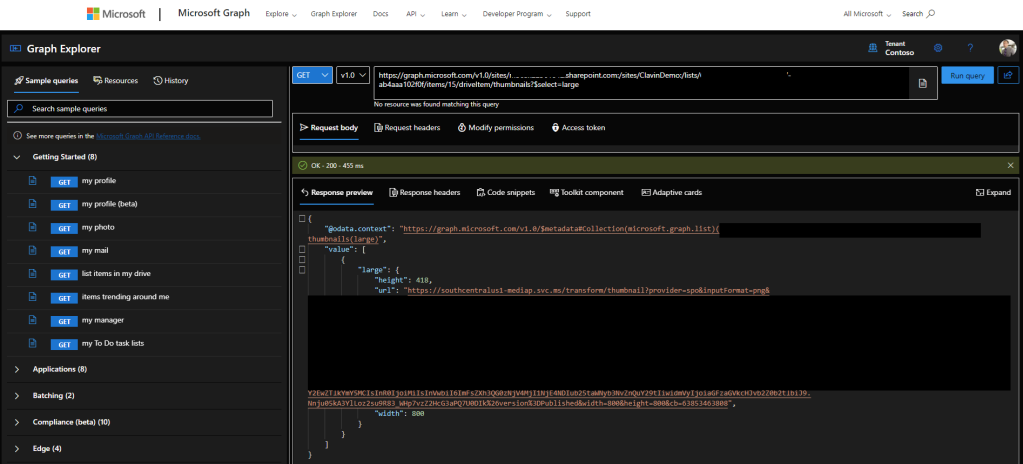
If you are new to Graph API, I highly recommend you look at the Microsoft Graph documentation and start using the Graph Explorer. The Graph Explorer is a developer tool to learn about Microsoft Graph APIs. I recommend first testing the endpoint using the Graph Explorer and then using it in your solution—in our case, Power Automate.
https://graph.microsoft.com/v1.0/sites/{site-id}/lists/{list-id}/items/{item-id}/driveItem/thumbnails?$select=large
Let’s break down the above URL\endpoint and understand each part in detail:
- https://graph.microsoft.com/v1.0 – This is the base URL
- /sites/{site-id} – {site-id}: The unique identifier of the SharePoint site. This can be the site’s ID, URL, or name.
- /lists/{list-id} – {list-id}: The unique identifier of the list. This should be the list’s ID.
- To find the SharePoint List ID, go to your SharePoint site, navigate to the list, click on the gear icon, select “List settings,” and extract the List ID from the URL.
- /items/{item-id} – {item-id}: The unique identifier of the item.
- To find the Item ID in SharePoint, go to the list settings, add the “ID” column to the view, and the Item ID will be displayed in the list.
- driveItem/thumbnails –
- driveItem: Specifies you are accessing the file associated with the list item.
- thumbnails: Specifies you want to retrieve the thumbnails for this file.
- Query Parameter:
?$select=large: Large Thumbnail:- ?$select=medium : Medium Thumbnail
- ?$select=small : Small Thumbnail
Sample constructed URLs for retrieving different thumbnail sizes from a SharePoint item using Microsoft Graph API:
https://graph.microsoft.com/v1.0/sites/m365x2xxxxxxxx.sharepoint.com:/sites/ClavinDemo:/lists/637c3729-ce77-4fe4-b587-abxxxxxxxf0f/items/7/driveItem/thumbnails?$select=large
Now that you understand the basics, let’s start building the Power Automate flow to generate anonymous preview links for images in SharePoint using Graph API.
Building the Power Automate Flow
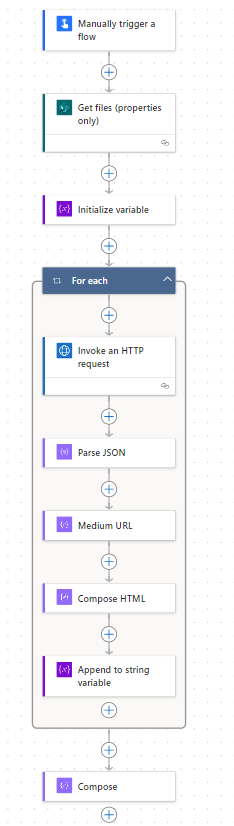
Step 1: Manually Trigger a Flow
- Click on “Create” and select “Instant cloud flow.”
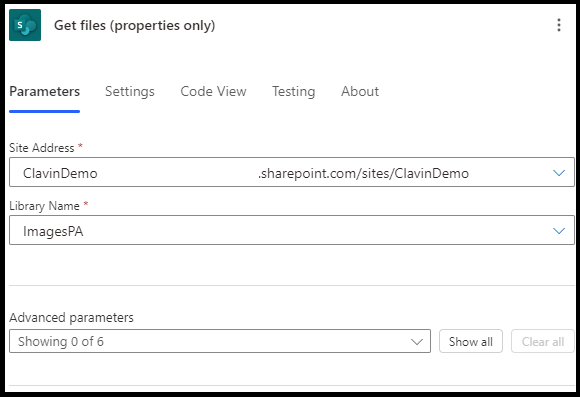
Step 2: Get Files (Properties Only)
- Site Address: Your SharePoint site address.
- Library Name: The name of your document library.
Step 3: Initialize Variable
Initialize Variable variable of type String and give it a Name ‘HTMLSTR’

Step 5: Invoke an HTTP Request
- Method: GET
- This specifies that you want to retrieve data from the specified endpoint.
- Url Of The Request:
https://graph.microsoft.com/v1.0/sites/xxxxxxx.sharepoint.com/sites/Clavin Demo/lists/xxxxxxxx-ce77-4fe4-b587-xxxxxxx/items/@{triggerOutputs()?['body/ID']}/driveItem/thumbnails
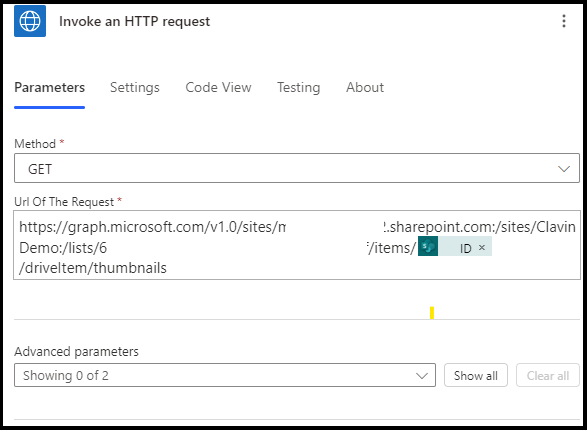
When you add the dynamic ID from the “Get files (properties only)” action to the URL in Power Automate, it will automatically wrap this action in an “Apply to each” loop because the “Get files” action returns an array of items.
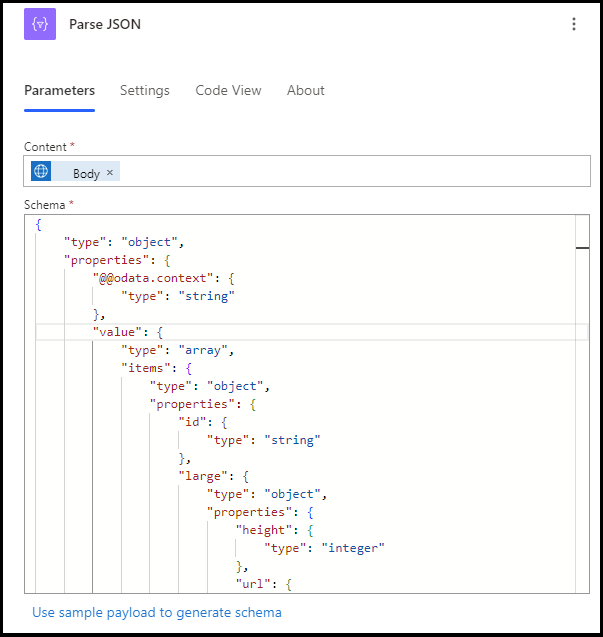
Step 6: Inside the “Apply to each” loop add the “Parse JSON” action
- Content: Use the output from the HTTP request.
- Schema: Generate from a sample payload. You can get the sample payload by running the HTTP request once and copying the response.
{
    "type": "object",
    "properties": {
        "@@odata.context": {
            "type": "string"
        },
        "value": {
            "type": "array",
            "items": {
                "type": "object",
                "properties": {
                    "id": {
                        "type": "string"
                    },
                    "large": {
                        "type": "object",
                        "properties": {
                            "height": {
                                "type": "integer"
                            },
                            "url": {
                                "type": "string"
                            },
                            "width": {
                                "type": "integer"
                            }
                        }
                    },
                    "medium": {
                        "type": "object",
                        "properties": {
                            "height": {
                                "type": "integer"
                            },
                            "url": {
                                "type": "string"
                            },
                            "width": {
                                "type": "integer"
                            }
                        }
                    },
                    "small": {
                        "type": "object",
                        "properties": {
                            "height": {
                                "type": "integer"
                            },
                            "url": {
                                "type": "string"
                            },
                            "width": {
                                "type": "integer"
                            }
                        }
                    }
                },
                "required": [
                    "id",
                    "large",
                    "medium",
                    "small"
                ]
            }
        }
    }
}
Step 7: Inside the “Apply to each” add Action – Compose:
- Configure the action:
- Inputs: Use the following expression to extract the medium thumbnail URL.
first(body('Parse_JSON')?['value'])?['large']?['url']
You can change the [‘large’] to medium or small.

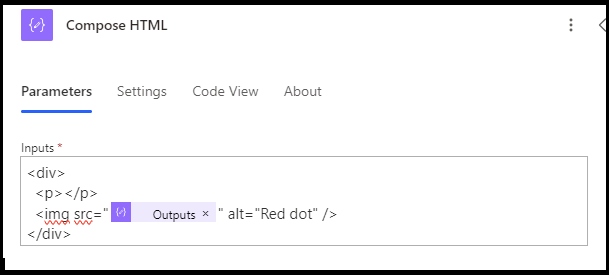
Step 8: Inside the “Apply to each” add Action – Compose:
- Configure the action:
- Inputs: Use the following expression to create an HTML string that includes the extracted medium thumbnail URL.
<div>
  <p>Taken from wikpedia</p>
  <img src="@{outputs('Medium_URL')}" alt="Red dot" />
</div>
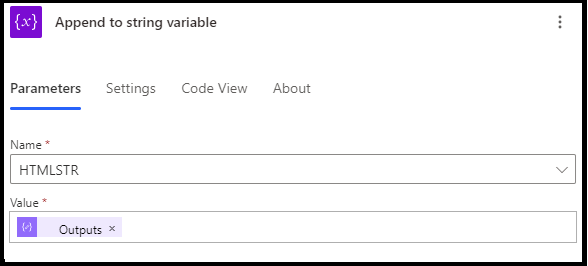
Step 9: Inside the “Apply to each“ add Action – Append to string variable:
- Configure the action:
- Name:
HTMLSTR - Value: Use the output from the “Compose HTML” action.
- Name:
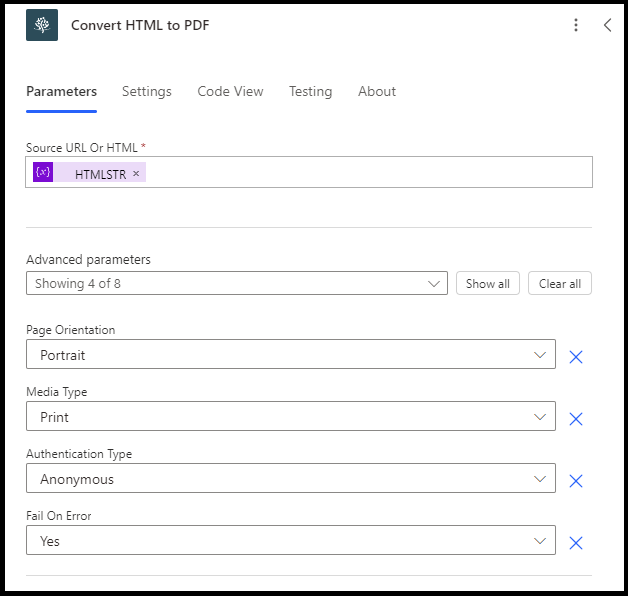
Step 10: Outside the “Apply each loop” add the Muhimbi “Convert to PDF” action.
- Source URL or HTML : Use the output from the “Append to string variable” action.
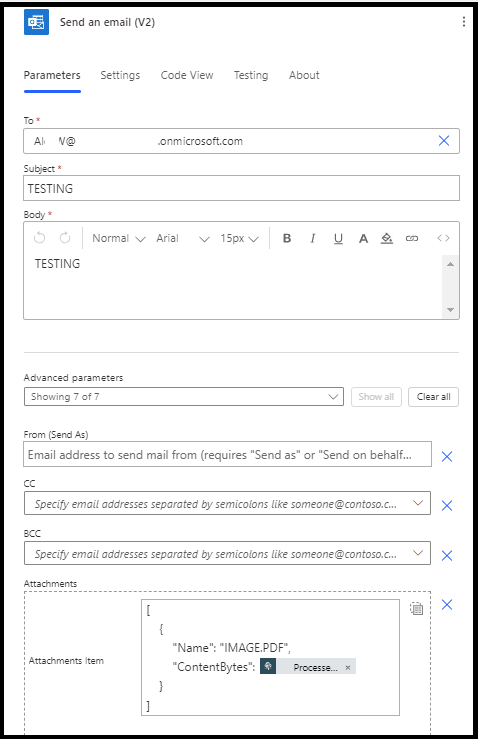
Step 11: Add the “Send an email action” and add the mandatory fields.
- To: “Email” address of the user
- Subject: TEST
- Body: TESTING
- Attachments Name – 1: “User name”.pdf the output of the “For a Selected File”
- Attachments Content -1: “Processed File Content” the output of “Convert documents” action.
All Done! Trigger the Flow manually and after a few seconds, you should have an email with a PDF attachment which includes all the Images.
Subscribe to this blog for the latest updates about SharePoint Online, Microsoft Flow, Power Apps, and document conversion and manipulation.
