
In one of my recent projects, there was a requirement to merge all the documents in a document library to a single PDF using Nintex workflow.
If you have been following my blog you might have already come across the Microsoft Flow Merge article, but for this particular customer, it had to be a Nintex on-premise workflow because they just love ❤ Nintex and they did not have the Microsoft Flow on-premise connector configured.
Please follow the instructions below or download the complete workflow in NWF format.

The Finished workflow
Prerequisites
- Make sure the PDF Converter for SharePoint is installed.
- Naturally, Nintex Workflow will need to be installed as well. Nintex Workflow versions 2007-2019 are supported.
- The user (you) will need to have the appropriate privileges to create workflows.
So now that we have all the prerequisites in place, let’s start building our Nintex Merge Workflow.
Step 1:
- Open the SharePoint Document Library that you want to attach the workflow to.
- In the Library ribbon, select Workflow Settings and click on Create a Workflow in Nintex Workflow.

Step 2:
- In the Nintex Workflow Designer Click on Workflow Settings and click on Variables.

Step 3:
- Add the variables with reference to the screenshot below.

Step 4:
- Drag a Query list workflow action onto the design canvas. Double-click the Query list action to open the configuration dialog.
- In the List field select the document library.
- In the Field select “Server Relative URL” click on Add and set it to “DocumentCollection Variable”.
- Check the “Recursive” checkbox.
- Click the General tab and then Save.

Step 5:
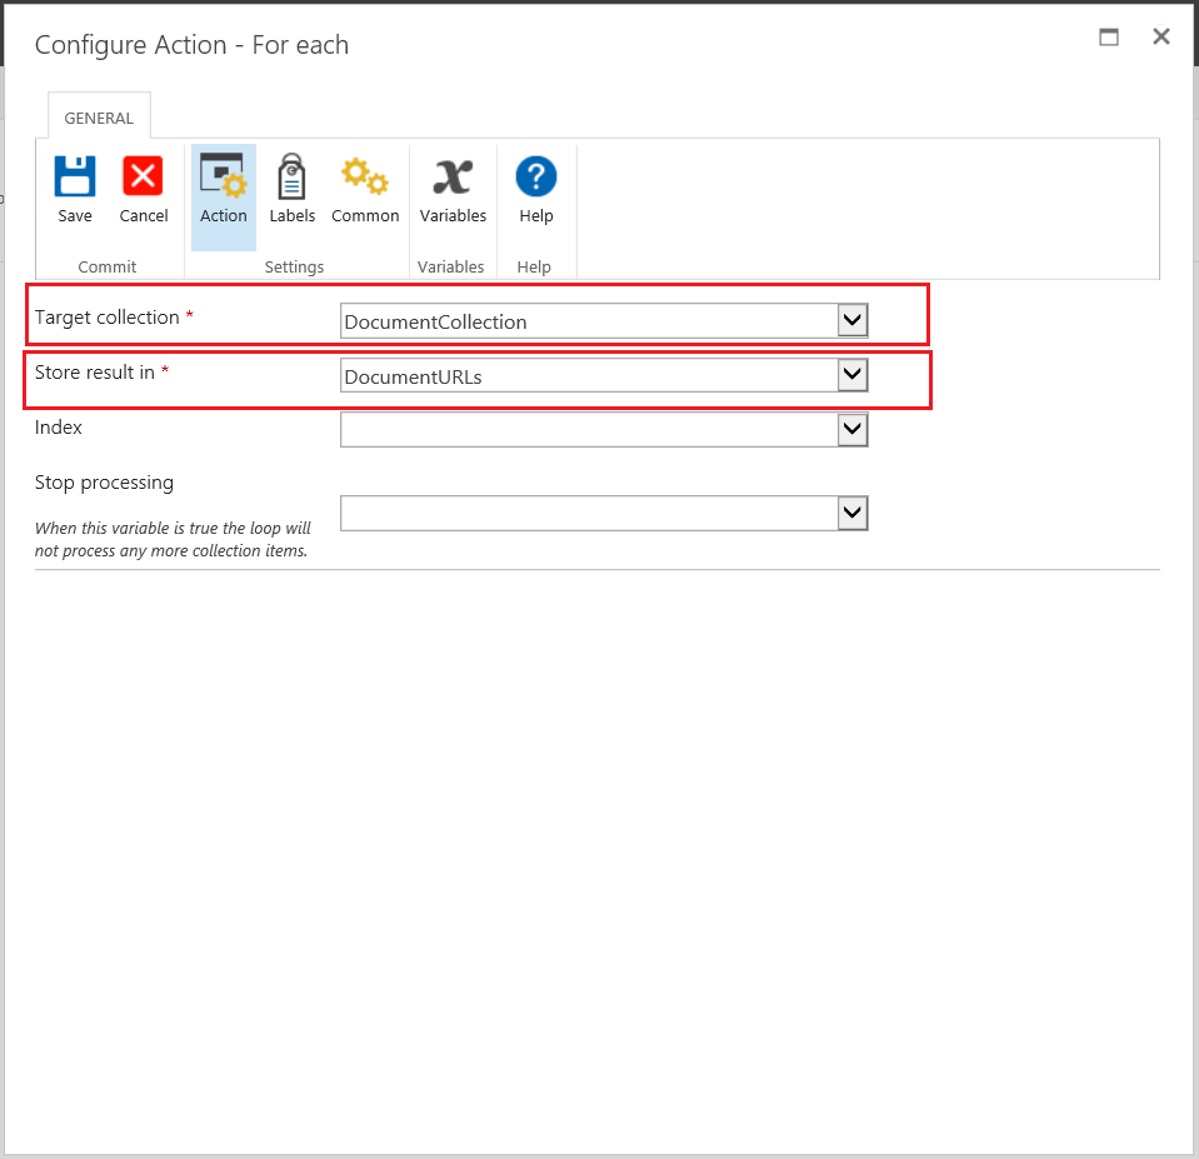
- Drag a For each workflow action onto the design canvas. Double-click the For each action to open the configuration dialog.
- Set the “Target collection” field to “DocumentCollection” variable and “Store result in” to “DocumentURLs” variable.
- Click the General tab and then Save.
Step 6:
- Drag a Build sting workflow action onto the design canvas. Double-click the For each action to open the configuration dialog.
- Click the Insert Reference icon and Add the Workflow Variables “DocumentURLS” and “MergeList” in the Text Field and set the “Store result in” field to “Mergelist“.
- Click the General tab and then Save.

Step 7:
- Drag a “Merge file to PDF” workflow action onto the design canvas. Double-click the Merge file to PDF action to open the configuration dialog and configure it with reference to instructions/screenshot below.

Destination Path: Enter the path to write the merged file to, either:
- Leave it empty to use the same filename (and path) as the file that triggered the workflow.
- A relative path to a subsite/document library/folder, e.g. Shared Documents/Some Folder/Some File.pdf.
- An absolute path to a different site collection, e.g. /sites/Finance/Shared Documents/Some Folder/Some File.pdf.
Source Files: Add the WorkflowVariable Merge list.
PDF List ID: If you wish to carry out further actions on the generated PDF file, e.g. merge additional documents or perform a check-in, then you can optionally write the ID of the List the PDF was written to in a workflow variable of type String.
PDF List Item ID: Similarly to PDF List ID, the Item ID of the generated PDF file can optionally be written to a workflow variable of type Item ID (in SharePoint 2007) or Integer (in newer SharePoint versions)
For more details about the Muhimbi Merge Workflow action, see this blog post.
Step 8:
- In the Nintex Workflow ribbon, click Save and then click Publish and Submit.

Step 9:
- Access the Workflows page for the list item: Click More options (
 ), click Advanced, and then click Workflows.
 - The Workflows page lists site workflows that are available for manual initiation.
- Under Start a New Workflow, click on the workflow we created.
- The Start Workflow page appears with a preview of the selected workflow.
- Click Start.

All Done… Happy Converting. 😀

One thought on “Use Nintex Workflow to Merge all documents to PDF in a Document Library”