
Notes with attachments are commonly used in Dynamics 365 as they provide a way to document and track important information such as customer interactions, meeting minutes, and project updates. However, Timeline (Notes and Attachments) are not enabled by default. This blog provides step-by-step process of enabling notes and attachments in Dynamics 365.
This blog is the first blog in the “PowerApps Component framework – Retrieve Notes with Attachments in Dynamics 365 using Web API“.
The blog is mainly divided into two main parts:
Don’t like to read, you can follow the video tutorial instead.
Enabling Notes & Attachments:
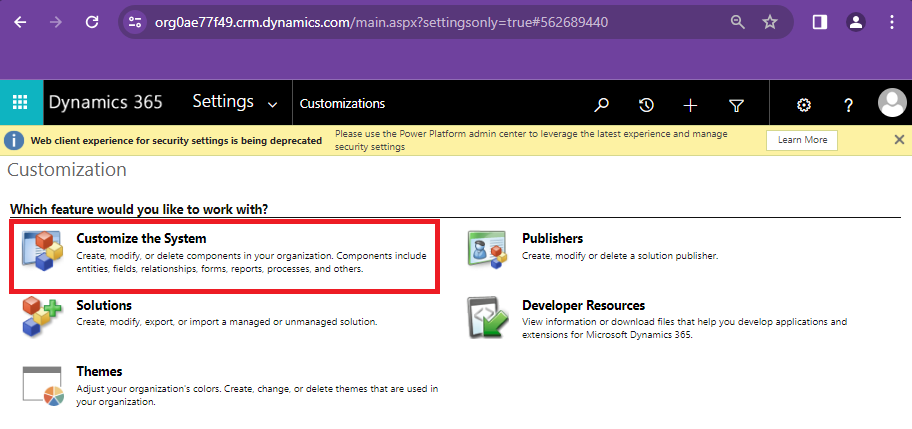
- Navigate to the Maker Portal in PowerApps Environment and open the “Advanced Settings“.

- Click on the “Settings” and then on “Customizations“.

- Click on “Customize the System“.
- Search for your “Entities” and find the “<Table_Name>” entity and click on it.
- Check the box “Notes(Includes attachments)” under “Communication an Collaboration“, “Save” and “Publish” the changes.

Adding Notes & Attachments to Forms:
Navigate to the “Solution” and open the “<your_table>” (entity), then click on “Forms“.
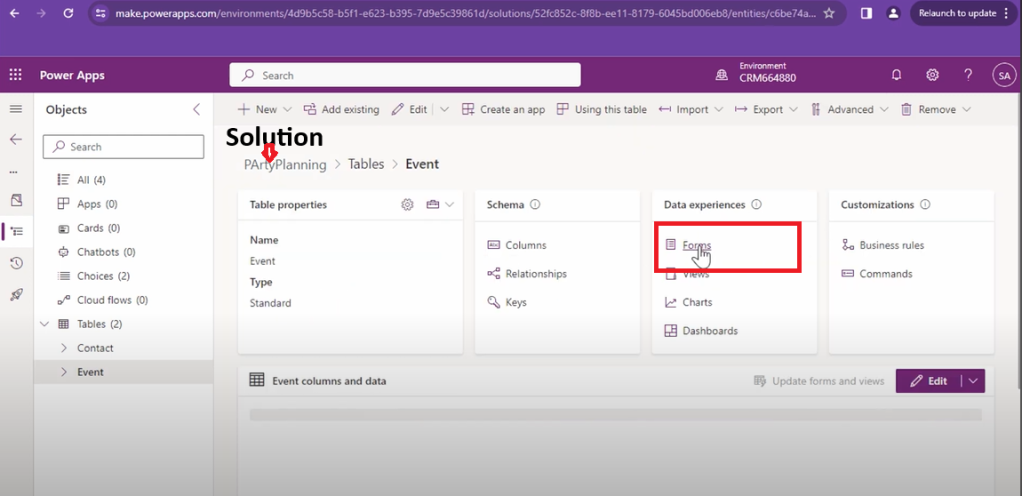
Select the “Main” Form type, click on the (three vertical dots) and click on “Edit“.

Click on (…) and “Switch to classic“.

Under “Insert,” click “Timeline“. Then click on “Home” tab, the “Save” and “Publish” the form.

- Launch the “App” and Navigate to the “Form“.
- Fill in the details and once done you’ll see the timeline appear after saving the event.

In the next demo, we’ll dive deeper into extracting meaningful data from notes and attachments using the powerful XRM Fetch XML Builder tool. Stay tuned!
Subscribe to this blog for the latest updates about SharePoint Online, Nintex, Microsoft Flow, Power Apps, and document conversion and manipulation
